Ludei’s CocoonJS is one of a growing number of services and solutions like PhoneGap (Cordova) aimed at getting HTML5 development up to native speeds on mobile devices. By wrapping HTML5 and JavaScript files in a separate runtime environment, it provides the encapsulation of a webpage as an app itself. You just pick what platform and market (GooglePlay, iTunes Store, Amazon, or Ouya), submit files to Ludei’s cloud compile service, and receive back either the source to compile (Xcode for iOS) or an APK for the Android platforms.
Luckily, this also means that Google Glass, which runs Android 4.1, is another available platform, although unofficially supported by both Google and Ludei.
Let me state that again: this is more or less a hack. It doesn’t have voice or touchpad support yet and, as I get into, it is a rather involved process with limited running capability. Still, it’s neat demonstration of where these technologies can take us in the near future.
(Note: Since I use a Windows environment, I wrote this guide from that point of view. All of the screenshots and most of the instructions will reference Windows environment locations and settings.)
To start, I’m going to walk you through installing the Android Development Tools (ADT) and its SDK.
Visit the Android ADT download page.
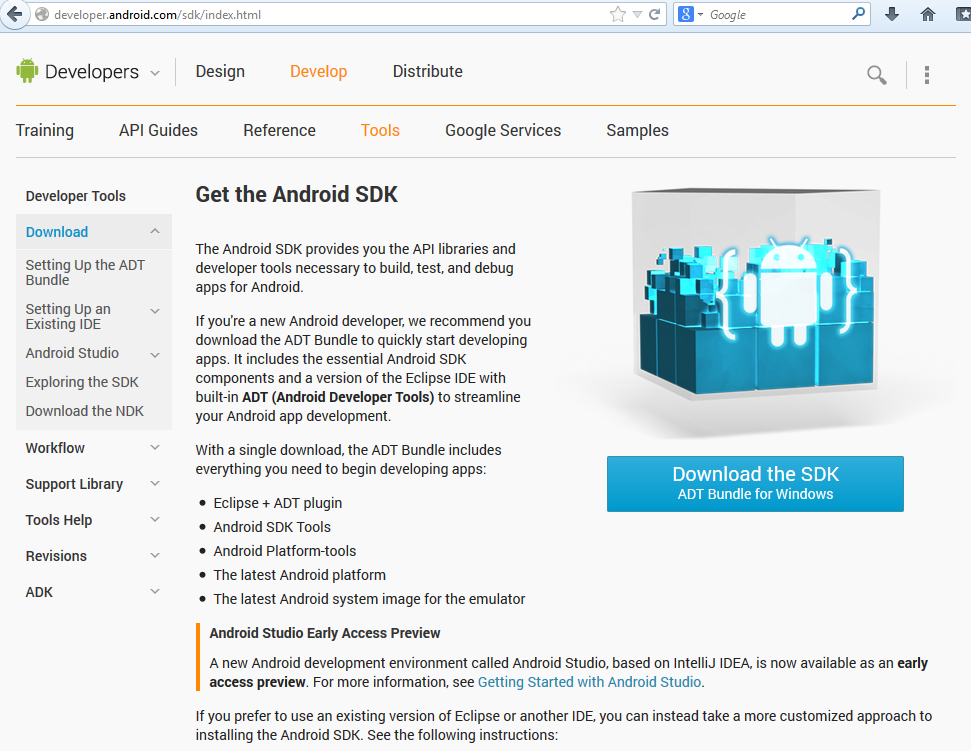
On the right-hand side is a big button labeled “Download the SDK”. Click it.
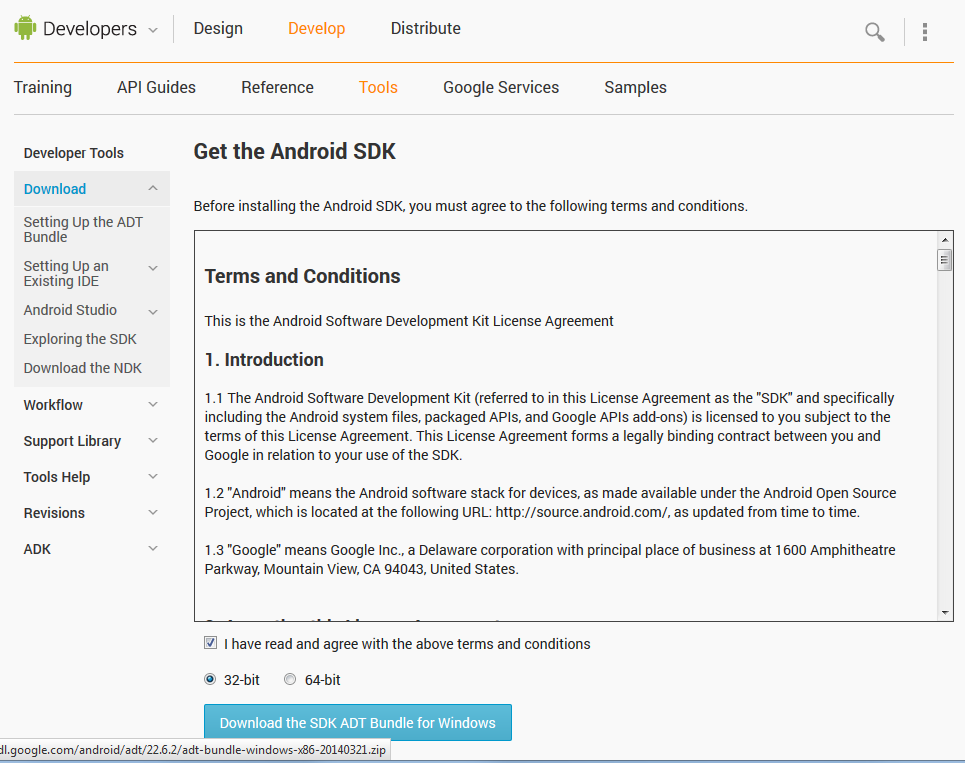
Read the Terms and Conditions.
Depending on your system, pick either the 32-bit or 64-bit version.
(Note: The SDK is designed for the compiling of code. We won’t be using that functionality in this guide, but you might want to later. Make sure you pick the correct version for your system.)
Finally, click that you have read and agree with the terms and conditions. Then, click on the button to download the SDK ADT bundle.
Because the bundle is 510 MB zipped, it can take some time to download. Depending on your network speed, you might want to pause here and take care of some other tasks before continuing.
 When the download is finally done, it will be in your Downloads folder for your username. (For me, that was “Dan.” Hello.)
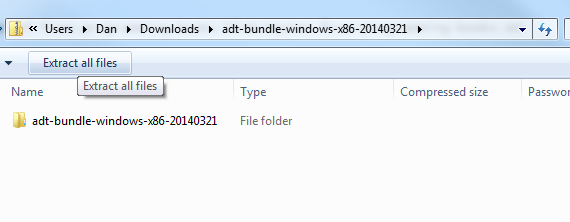
Double-click this file to open the ZIP file functionality inside Windows Explorer.
You should see a “Extract all files” button. Click this.
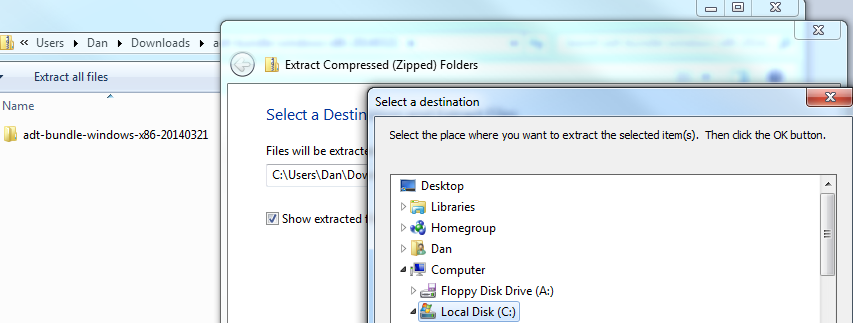
Instead of accepting the default position, click on “Browse” to select a new one.
Now, I am going to recommend that, if this is your first time using the ADT, that you place it in the root folder of your default drive. For most users, that will be “C” and selecting it from the “Select a destination” window will be enough.
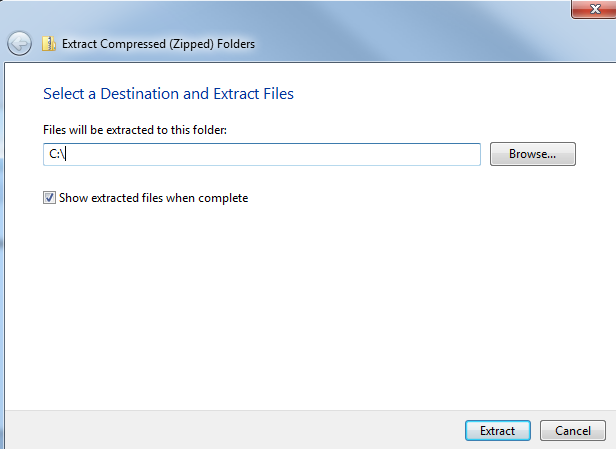
Having selected “C:” from the previous window, you can now click on “Extract” to unzip the files into that directory.
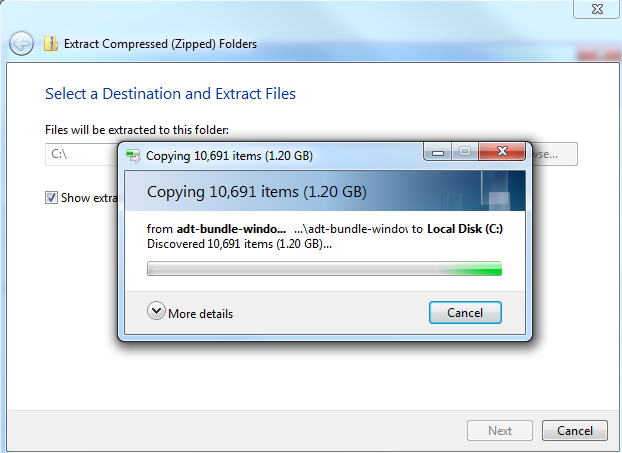
This next step can take a substantial amount of time. Depending on your computer’s overall speed, and other factors like what is running at the same time, this can take up to hours to finish.
While is going on, we are going to prepare for the next step.
If you don’t have an account with Ludei, now is the time to create one.
Visit their sign up page.
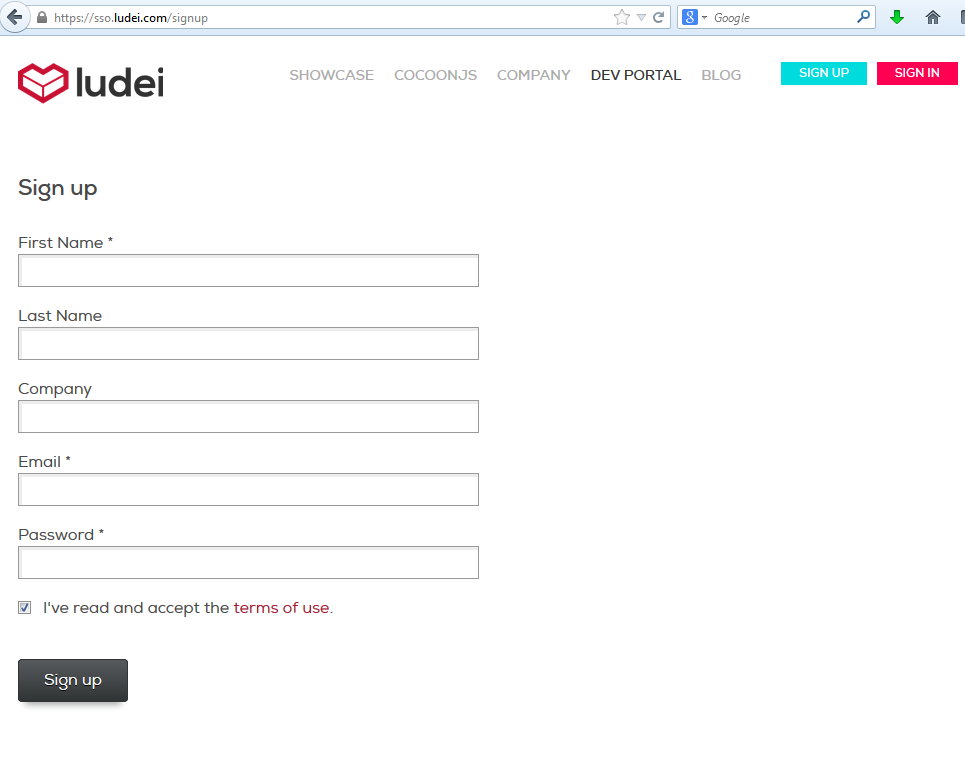 Fill out the required information and, before you finally sign up, read their terms of use.
Once you have an account and have confirmed your e-mail, sign in with your account name.
Once signed in, go to the “Dev Portal”
 Click on the “+ New Project” button to create a new project.
 Fill out the required information. (If you prefer, you can use what I wrote instead. However, for the bundle id field, consider putting in something that matches your own needs.)
Once done, click on the “Create Project” button.
Now that we have finally gotten to a place where we are going to compile code, we should have some code to code to compile, right? Well, I have an example posted on a GitHub page. Click here to download it.
Let it remain as a ZIP file too. Don’t unzip it.
You should still be on the “Compile Project” page.

Click on the “Zip File” box. When given the option to select file, find the recently downloaded “helloWorld.zip” file and click the “Open” button.
Now, for the “Compile project for” section, select “Google PlayStore.”
Under “Run using,” select “Canvas+.”
(Note: Each mode offers different things. The Canvas+ mode is the fastest for Canvas-based projects, but has some reduced JavaScript functionality and options. The System WebView is the default, on the platform, browser option. WebView+ is a combination of some of WebView and Canvas. It’s a medium between the two.)
For the compiler version, pick “1.4.7.”
(Note: As of this writing, the 2.0.0 beta targets Android 4.4 platforms. Since Glass runs Android 4.1, we need the older, 1.4.7 version that targets an earlier Android SDK.)
If you didn’t before, read the terms of service and upload conditions.
Finally, click that you accept and then the “Compile project” button.
Now, we wait for the compilation e-mail to arrive.
 The e-mail will have a link to the compiled file.
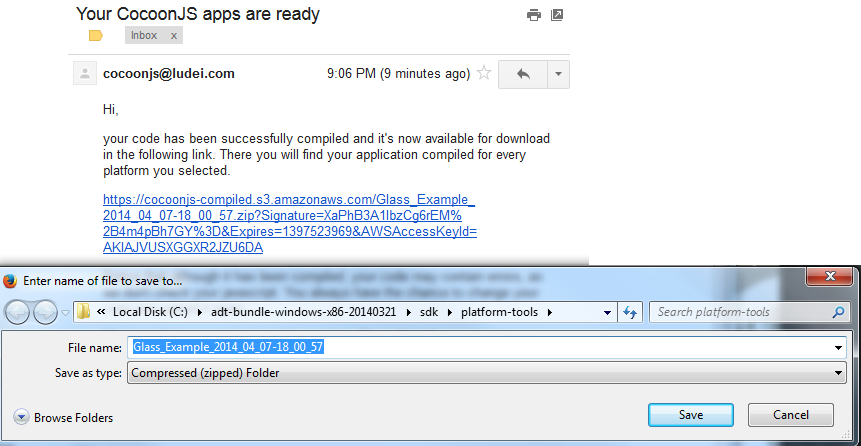
Right-click on it, select “Save Link As…” and, from the window, select the “platform-tools” folder under “sdk” under the unzipped folder created from the ADT folder.
(Note: If the unzipping process hasn’t finished yet by the above step, you will need to wait more. Before we can continue, the full unzipping process must be done.)
If you haven’t already, connect your Google Glass to the computer via its USB cable. If you haven’t installed the necessary drivers, consult Google’s documentation for it.
Now, open a command-line window.

Navigate to the folder containing the ADB program. (If you have been following this guide, it should be “C:\adt-bundle-windows-x86-20140312\sdk\platform-tools”)
If you haven’t yet, we will need to enable Debug Mode on Google Glass.
To do that, put the glasses on.
From the “ok glass” screen, scroll to the far left.

Tap to enter the Settings.
Scroll to the right, to the Device info.

Tap to enter Device info.

Scroll to the right.
When at the screen that says “Turn on Debug,” tap to enable.
(Note: In order to take screenshots, I needed to have debug mode already enabled. That is why my screenshot reads “Turn off debug.”)

Type “adb devices”
If everything is working correctly, you should see Glass as a connected device like in the above screenshot.
 Find the previously saved file and double-click it.
Like before, click on “Extract all files.”

Now, click on “Browse” and select the “platform-tools” folder. This will extract the files in the same directory as the ADB tool we are about to use.

Go back to the command-line window.

Run “adb install *_signed.apk”
This will install the APK file holding the files with CocoonJS 1.4.7 on Glass.
Put Glass on or otherwise wake it up.

As the final step, run the following command: “adb shell am start -n com.videlais.glassexample/.Glass_ExampleActivity”
(Note: If you used a different bundle id when creating the project, that will need to be changed. Before the backslash, include it where I wrote ‘com.videlais.glassexample.’)
 If everything went okay, you should see the above on Google Glass. The “Hello World!” message should be printed in the Arial font in the middle of the screen.
Neat, right?
Now for the limitations:
- There is no voice or tap support currently. In order to end the process being on top, either take off Glass or put it to sleep with the side button.
- The app will continue to run in the background indefinitely. There isn’t a current way to end apps with Glass manually.
- To fully stop it, run the following: “adb shell pm uninstall -k com.videlais.glassexample” (or with your own bundle id). That will fully uninstall the app, stopping it completely.
- To test new changes, you will need to either use the launcher for iOS or on another Android device to test first. After submitting a ZIP file, you will need to receive back the compilation, install it, manually start as I showed, and uninstall each time.
