As a follow-up to my post from a few days ago on making retro-style brick tiles, I thought it might be cool to go over what I’ve learned from making door tiles too. After all, once you have the background for your level (or game), you will need doors for your characters to enter and leave from too.
(Note: While I will be using Paint.Net to make these examples, GIMP or Pinta work really well too.)
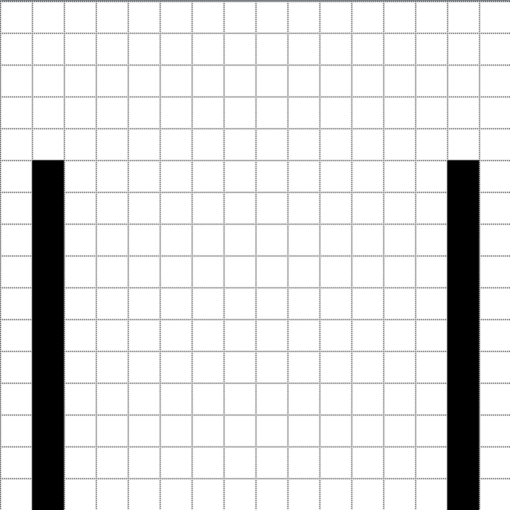
Just like in the last post, I’ll be starting from making a 16×16 blank image.
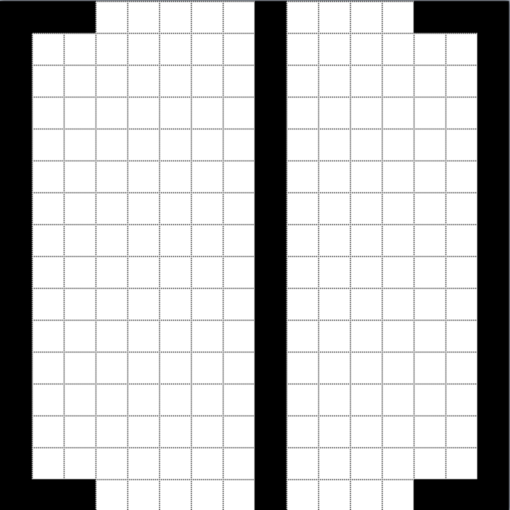
From there, draw a single line down the left and right side. Add a new line coming in two columns on each side so that the image now looks like two brackets facing each other.

These lines on the sides will be the hinges for the door.
Now, to draw the seam between the doors, make a line starting at the top row and eighth column, running to the bottom of the image.
 And, to draw the handles, start at the sixth row on each side of the seam. Draw two lines four rows long.
To make the keyhole, draw a (in this case white) hole in the middle of the seam inside the two new lines on row seven.
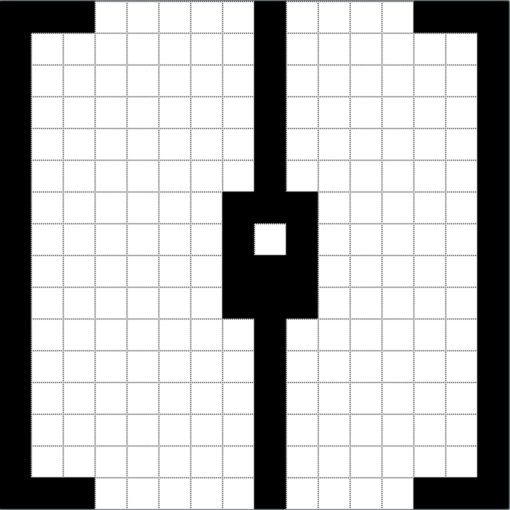 Awesome! Now we have a basic template for making double-doors.
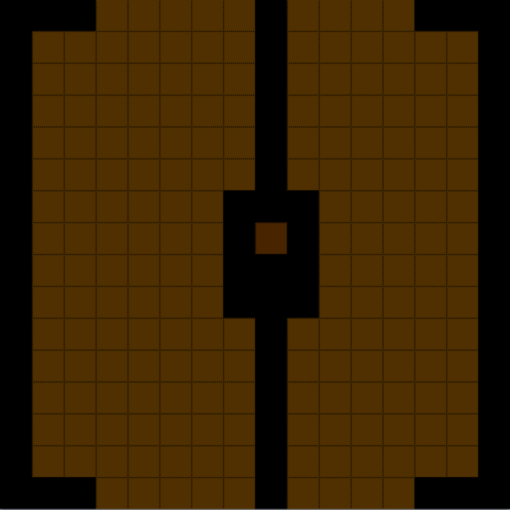
From here, we can add details, colors, and generally make it look more fancy looking. (That’s a technical term, “fancy”.)
So, because in my experience most doors aren’t actually pure white, let’s give it a wood-like color. A darker brown (#503000), for example.
(Note: To make things even more retro-looking, I often use the same colors as found in the NES color palette.)
 Or it could even grey (#707070) too. For a more Gothic feel, such as for doors found in castles or fortresses, that might work better.
 And, to add some age to the door, we can “distress” it by adding random small holes with our background color (in this case black).
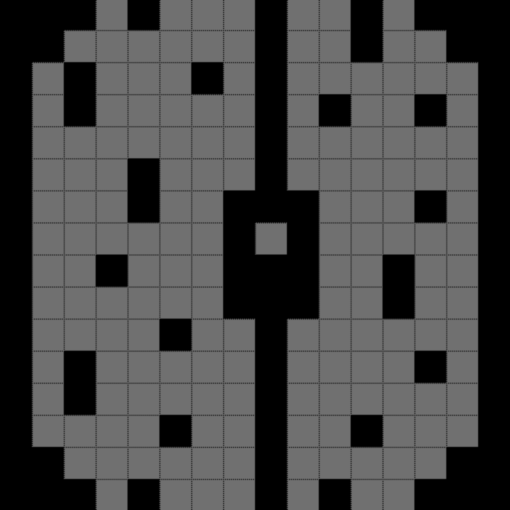 And so we have a great weathered-looking door for the inside of a dungeon or castle!
But what if we wanted something for a town. A door with maybe more of a curved top?
For that, we need to go back to the metaphorical drawing board and literally make a new 16×16 image.
This time, draw two lines, each starting at the bottom row and stopping at the fifth row.
Now is where it gets a bit more complicated. In order to make a curve, we need to approximate it using only squares. To do that, we are going to move one column in for each new line we draw.
It’s up two rows. One row. Then in on each side two columns. And then across four rows. (Or you could just look at the next picture to see what I’ve tried to describe.)
 Again, just like the double-door tile earlier, we now use this as a template for adding detail.
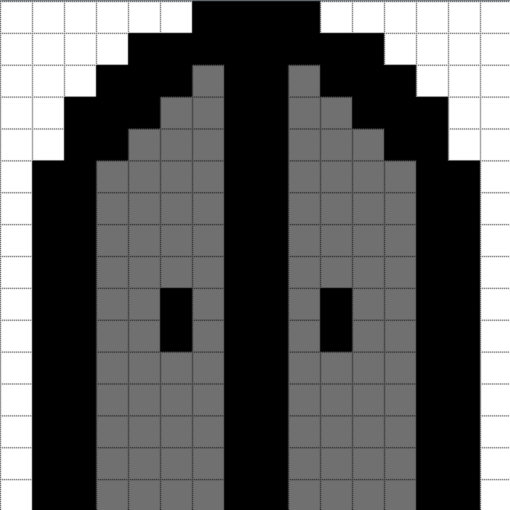
First, then, let’s add a greater emphasis on the outline by drawing the same pattern inside the door. Two more from bottom to the fifth row. For the two-row pattern, draw two rows. For the two column, draw two columns. And then add squares on the top and third rows. (The inside should now look like a pyramid.)
 To match the color pattern of the earlier door, let’s fill the inside with grey again too.
 If we wanted to make this door into a double, we could that too.
Drawing two lines to fill columns seven and eight would create a new seam. And then, two small lines on each door could serve as handles.
Well, there we have two different types of doors. One weathered for the inside of ruins and another slightly more styled door for buildings inside a town.
Again, and like always, I highly encourage you to play around with these patterns — and with new colors too. What little I know has come from playing around with other people’s work. Looking at how they do things and then learning from their patterns to make my own.
