JavaScript + Ink:
- Part 1: Ink for Web
- Part 2: Story API
- Part 3: Getting and Setting Variables
- Part 4: Calling Ink Functions
- Part 5: Building an Interface
ink is a scripting language for creating interactive narratives. It can be written using the editor Inky. The inkjs NPM module is a JavaScript port of the ink engine.
Ink for Web
Starting with more recent versions of Inky, functionality for running Ink in a browser can be accessed through the File -> “Export for web…” option.

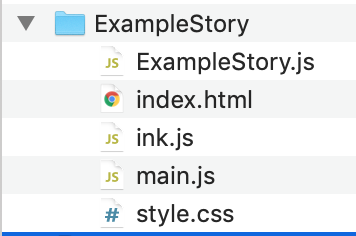
After saving the file, a new folder will be created that contains the story as a JavaScript file along with two others, ink.js and main.js.
When using the Ink for Web functionality, the main.js file is the one “driving” the experience. It uses the same functionality, in fact, that the inkjs NPM module does using the JavaScript API for Ink via the other file, ink.js. That’s the Ink engine code.
Looking at main.js
The first part of the code in the main.js file takes the value storyContent and passes it to inkjs.Story() function, saving the result as an object, story, that drives the rest of the code.
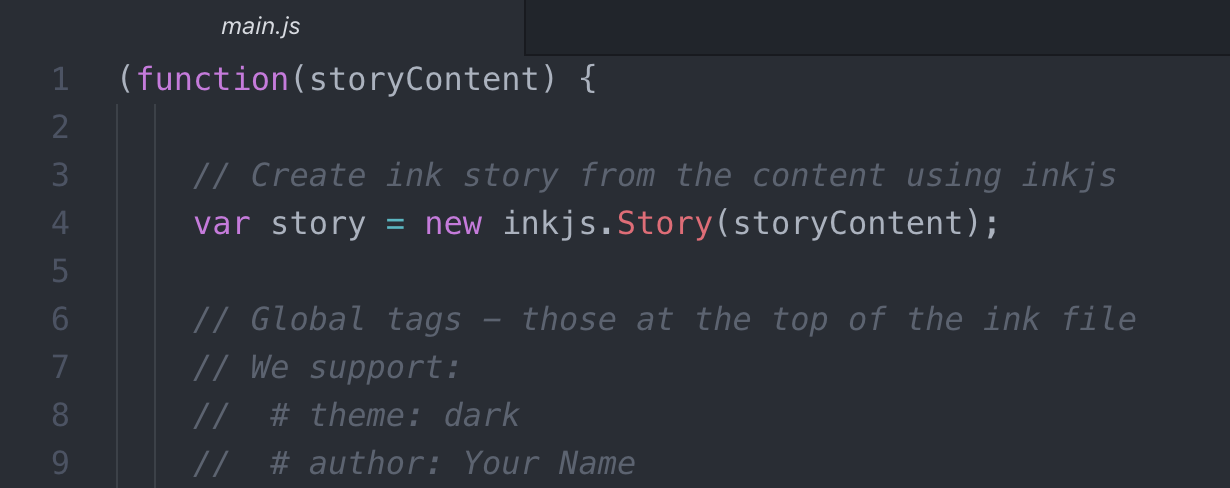
Throughout the main.js code, this object, story, is used as the interface to Ink itself. It calls different parts of the interface and reacts through creating links and other content.
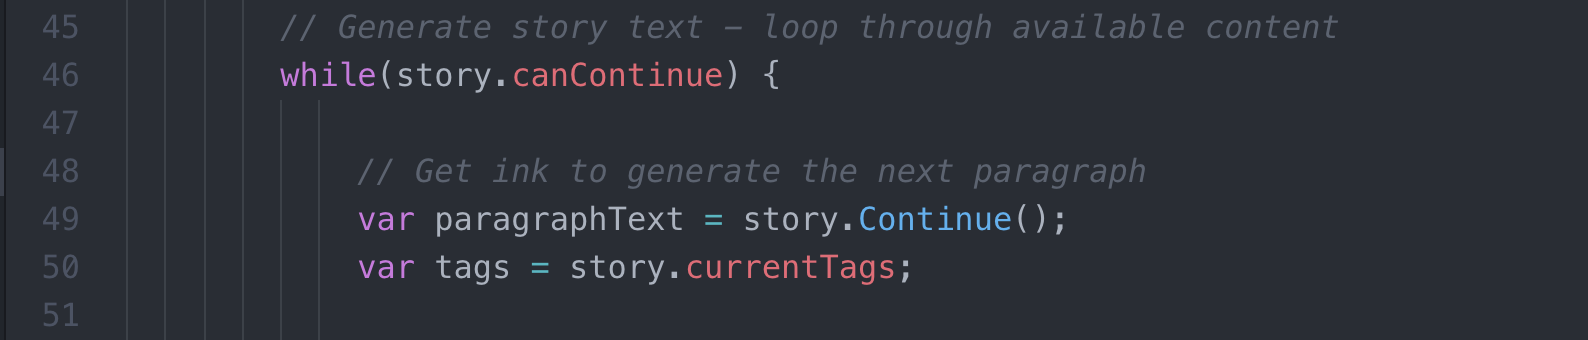
Lines 45 – 51 shows an example of this. The property canContinue is tested and, if true, then calls story.Continue() to get the next section of text.
Ink for Web = JavaScript + Ink
The “Ink for Web” functionality found in main.js file is an example of using JavaScript with Ink. Because it uses the same API as the inkjs NPM module, it can serve as a good basis for understanding the process of getting story content, passing it to inkjs.Story() and then using the API on the resulting object to drive a new experience based on what it returns.
