Drawing retro-style brick tiles
Drawing retro-style door tiles
(I use Paint.Net to make these examples, but two open source programs, GIMP and Pinta, work just as well.)
(I also turn on the pixel grid. In Paint.Net and Pinta, it’s under View->Pixel Grid.)
In the last two posts, I went over two short guides on making walls and doors. But what the floors? Or even the ground? We could draw a level using just what little I’ve shown so far, but it might be nice to have options.
Just like in all posts for this series, I’ll be starting from making a 16×16 image. However, unlike the others, let’s start with a filled image of green (#00A800) as a basis for a grass ground tile.
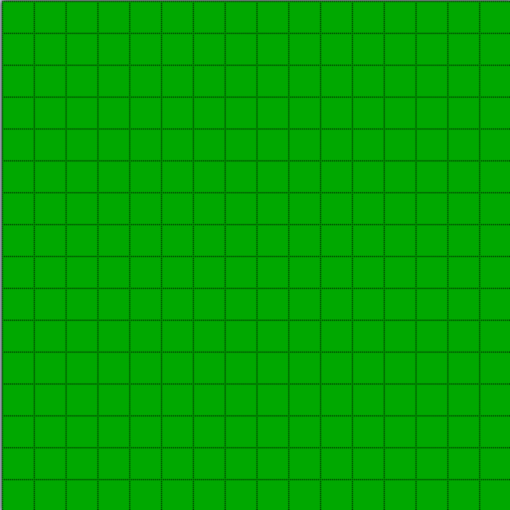 Now, to add some detail, we can use a lighter shade of green (#00A800) as small random patches of slightly different shades of grass within a larger part.
The trick too, as with many of these ground tiles, is to make a non-repeating layout within the tile. While we will be drawing this ourselves, it needs to look fairly random.
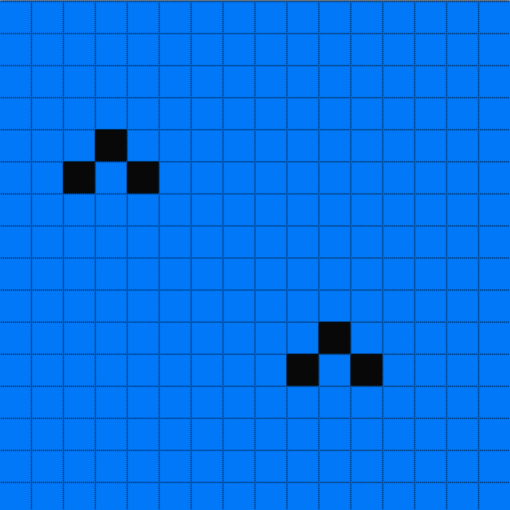
 And another approach is to make a pattern using three squares in a triangle.
 Using either the random or patterned approach works for other types of ground too.
Simply changing the colors can give us a more alien landscape with a black on blue (#0078F8) pattern.
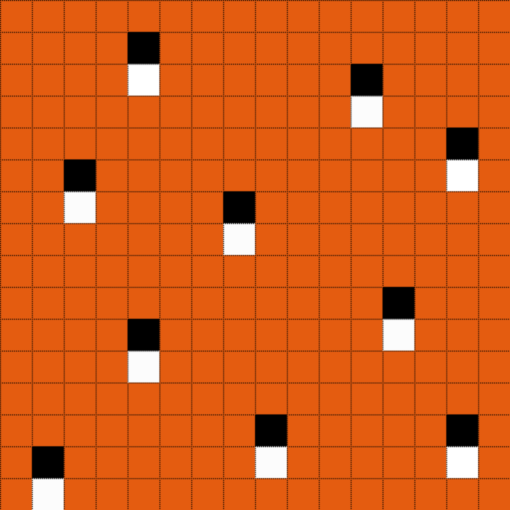
 Or switching to a shade of brown (#E45C10) and using black and white spots can create a desert feel.
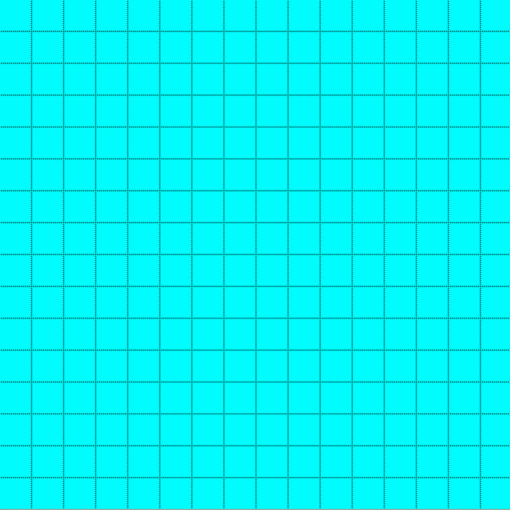
 In fact, to create a tile for water, we can use both the random and pattern approach to make something that looks as if the waves are frozen in different directions.
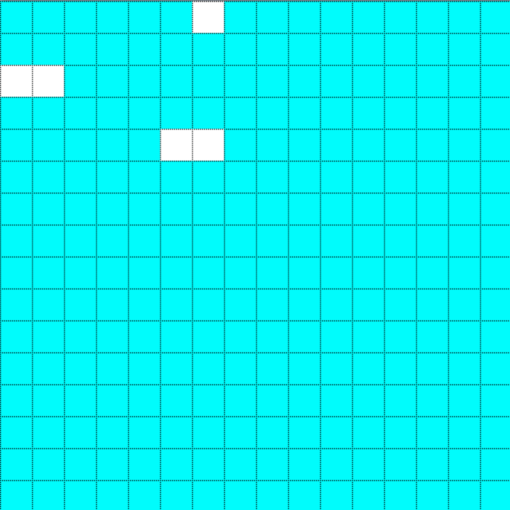
Going to a new 16×16 image, fill it with a light shade of blue (#00FCFC).
 To draw waves, we need to think about how they would look in a photograph. Waves crash and peak at different intervals. Generally though, there is a pattern to it.
To make this pattern, we are going to create a tessellation (a “smaller square“) within the tile.
We’re start with selecting the first seven columns and five rows, a bounded rectangle 7 x 5.
 Then, because waves usually peak with a white crest, draw a point in the upper right-hand corner in white. Then a two-pixel-wide line in the middle on the left-hand side. And finally, a two-pixel-wide line in the lower left-hand corner.
Copy the pattern. Paste it. And then move the new selection one column away from the old one.
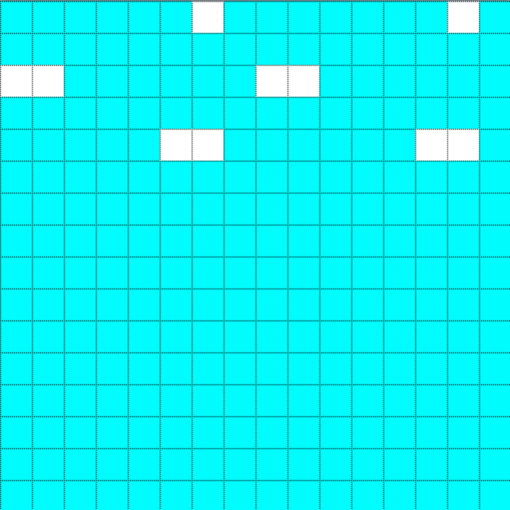 This time, instead of copying just the pattern, we will copy the whole first five rows. Paste it. And then move three rows down.
 Now, when the tile is stacked vertically with others of its same type, there will always be three rows between the white pattern and the next stripe of it. The same with the horizontal stacking too. There will always be one space between the internal pattern and the next one.
Well, with using random placement and with patterns (especially tessellated ones), you can now make most of the retro-styled tiles you would need. It’s just a matter of playing around with different layouts and colors to match your vision or project’s needs.
