itch.io is an exciting new service that aspires to be “a simple way to find, download and distribute indie games online.” By offering different options for developers to sell their projects, or even just host them with an integrated donation button connected to other services like PayPal and Amazon Payments, it stands apart from many other storefronts and services by being free to register and use. No up-front costs or credit card needed. Just file hosting and a support system to help indie games gain exposure and receive support.
(As with the above paragraph, I’m going to associate Twine files as “games” in this post. That’s just a convenient way for me to write about them. itch.io lets you classify your files as other things too, not just “games.”)
Creating an itch.io account
To start using itch.io yourself, you need to visit their Register page.
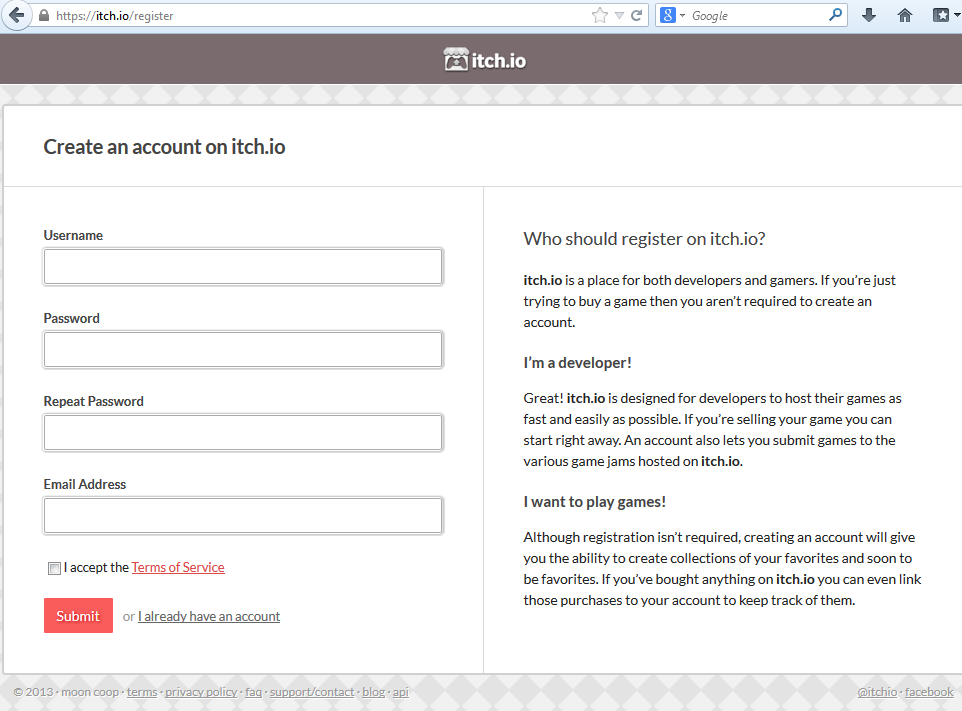
Create a username, a password, and fill in your e-mail address. Be sure to read the Terms of Service and then, if you agree, accept those terms.

Once you have an account, you can login with your credentials to get access to the “My Games” section of the site.

When you login for the first time, all of your statistics will be zero. (In order to bring those numbers up, you need to publish some games!)
Click on the “Create new game” button.
Creating a game entry

For this new hosted game, you can pick the title and the game URL. You can also upload a cover image, add screenshots, and include a short description or tagline for the game.
(If your project isn’t a game, or you don’t want to use that word, you can select from some options in the Classification drop-down menu. While not the most descriptive, there is the option of “Other” from this menu and some later options too to input what noun you might prefer itch.io use instead.)
Since this guide is aimed at Twine users, you will want to select HTML under the “Kind of game” options.
(The HTML option is for hosting files on itch.io’s servers and allowing people to ‘play’ the file in the browser. If you would rather have people pay first for access to download the file, “Downloadable” is the option you want instead.)

For the “Suggested Price” field, you can enter the lowest suggested donation amount or, if you prefer, click on the “Disable all payments” check-box instead.
If you selected HTML from the “Kind of Game” options, you can set the Game Dimensions here.
(Generally, 800×600 is a good fit for most desktop computers. However, if you would rather not think about this setting, the default 640×400 is good too.)
Once you get down to the Uploads section, you will need to prepare your Twine file for uploading.
Preparing the Twine file
If you haven’t already, rename the the Twine file you plan on uploading to itch.io to “index.html”. (In Windows, you can right-click on the file and choose “Rename” to do this.)
 Once you have a “index.html” file, you will need to create a ZIP file next.
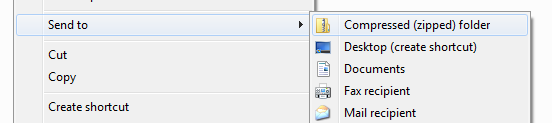
In newer versions of Windows, this can be done by right-clicking on the file, selecting “Send to” and clicking on “Compressed (zipped) folder” to create a new ZIP file.
Once created, click on the “Upload” button from the itch.io site. Click on the “browse” button and find the newly created ZIP file from the file window. Click “Submit” to upload that file.
Finishing the new game entry
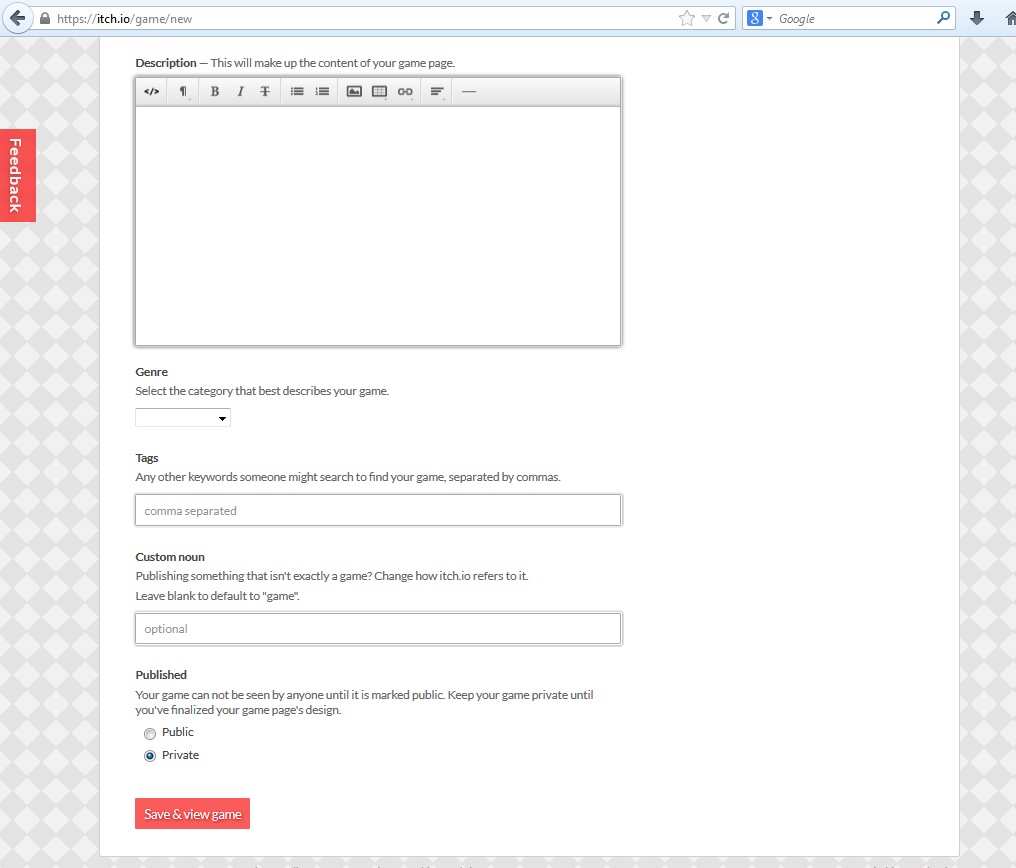
Once you have your ZIP file uploaded, you can write a description of the project and select its associated genre. You can also include comma separated tags for how someone might search for your game.
As the second to last step, you can choose what noun you would prefer your project be called. If you don’t like “game,” or you think another word might be better, itch.io lets you include that here.
Finally, once you have everything set, make sure it is set to Private and then click on the “Save & view game” button to test.
Privately viewing a game
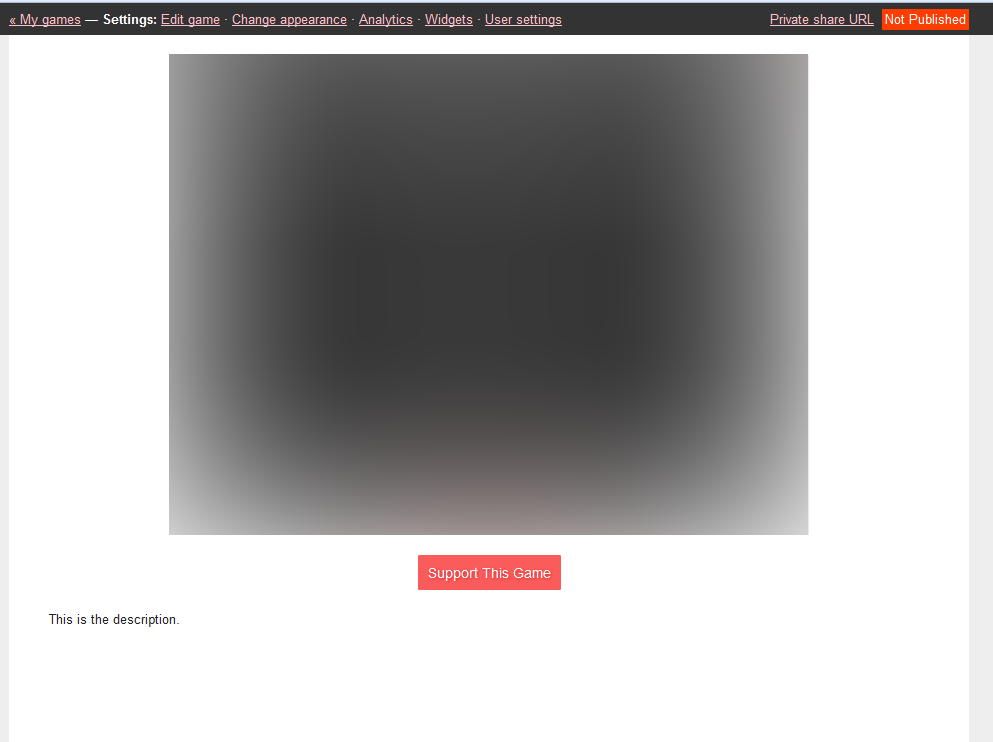
Privately viewing a game hosted on itch.io gives you the chance to do some final testing before making your game public. ‘Playing’ through it using this setting will give you a feel for how others might see in their own browsers.
You can see if the dimensions are to your liking and if they show enough of the game. You can also read through the description one more time too.
If you would prefer to get some outside opinions, you can even use the “Private share URL” at the top to see the location of this private viewing and share the link with others.
Once you are done testing, or if you would like to edit something about the game, clicking on “Edit game” at the top will take you back to the previous page and allow you to edit the game entry to your liking.
Setting up payment information

If you want to sell or support your Twines game on itch.io, you need to set up the payment information before making your game public. Visit the Payment tab under user settings.
For each section, fill in either the required information or click on the “Link” button to start the process of connecting your itch.io account to the other service. (Itch.io supports PayPal, Amazon Payments, and Stripe.)
You can also change the currency itch.io uses for your transactions too.
Making your game public
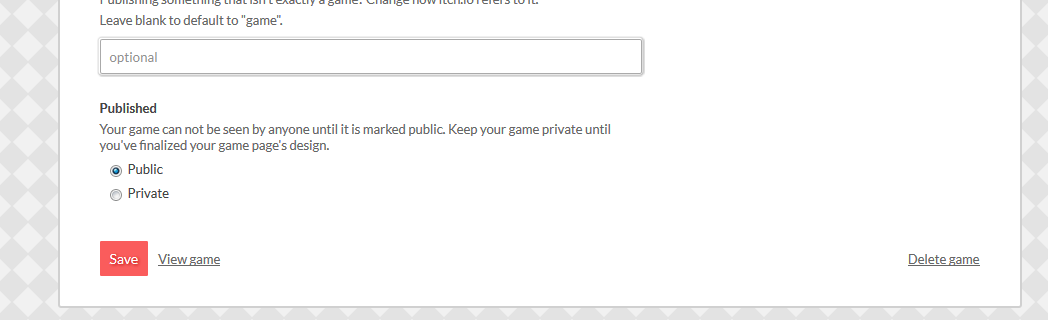
Once you have edited your game entry to your liking, tested it under the private view, and linked or supplied your payment information (if you wanted to do that), it is time to make your game public.
Under the game’s entry, scroll to the very bottom and click on the “Public” option. Now, click on the “Save” button.
Itch.io will create an official URL for your game based on what your supplied in the game entry.
Be sure to visit your game right after making it public too. Itch.io does not load it until someone (you, in this instance) visits the public game at least once.
Congratulations! Other people can now play your game on itch.io!
