
The goal of this guide isn’t to teach you everything there is to know about running Twine projects working on the Ouya using Apache Cordova. Not only would that be pages and pages of potentially boring information, but it isn’t even something I can give. No, this guide has one simple goal: to get you up and running with Twine on the Ouya. It tries to cover the path I’ve taken myself and should, I hope, get you to a point where you can experiment with Twine on the Ouya without the same obstacles I had to overcome.
(Explicit Assumption 1: I’m also going to make the assumption that you are comfortable using the command-line. While much of this guide is composed of images taken from screenshots of various graphical interfaces, its final portion will consist entirely of entering command manually.
Explicit Assumption 2: You have already connected your Ouya to your computer via ADB. While I could cover this too, I spent considerable space to it within another guide, Getting started with CocoonJS on the Ouya. By searching for “Instructions for connecting with USB-to-MicroUSB cable (the hard way)” (if you have such a cable) or “Instructions for connecting via network (the easy way)” in that post, you can find detailed instructions. However, I will note, I do really recommend the network connection; it’s far easier to work with.)
To start, you will Node.js.
While its home page describes it as a “platform built on Chrome’s JavaScript runtime for easily building . . . applications,” a shorter definition might be the following three words: server-side JavaScript. Node.js has taken a language that was used primarily client-side in browsers, something used to make web pages fancy for example, and leveraged it to do desktop tasks and server processes.

When you first visit the site, it should have guessed your operating system. Clicking on the “INSTALL” link will prompt you to download the correct installation file.
However, if you would like to pick your installer, clicking on the “DOWNLOADS” link will direct you to a listing of all the available packages.

For this guide, I picked the installer to match my system. In this case, that was a 32-bit Windows installer.

After clicking on the file, I was given the option by Firefox to save the file.
Depending on your browser, you may have been presented with a similar window. In any case, download and save the file.

From within Firefox, I can select files I have downloaded. From your browser, find the installer you have now downloaded and execute it.
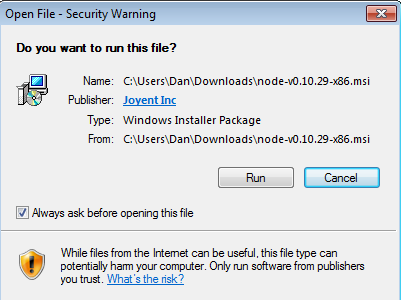
If you are presented, as I was, with a security warning from Windows, you can safety click the “Run” button to continue.

Once the setup application had configured itself, it will present you with the option to click “Next”. Do so.
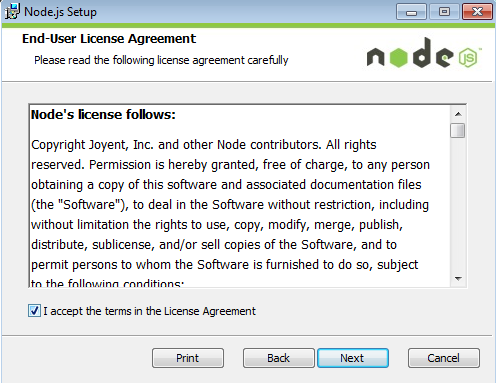
As with all software, this too comes with a End-User License Agreement. Take the time to read through it.

After the EULA, you can pick where you would like Node.js to be installed. If you do not have a preference, or are fine with its default selection, click “Next” to continue.

Once presented with the installation options for Node.js, you can select and customize what you would like.
Unless you really want to change things, you can click “Next” to continue.

Now that the setup application has configured itself and recorded your choices, it is now ready to install Node.js. Click “Install” to do so.

After some amount of time, it will finally complete its process. Once done, you can click “Finish” to close the setup application.
Now that Node.js is installed, we need to get Git.

From its home page, it too should have guessed at your operating system.
Clicking on the “Downloads…” click should prompt you to download its installer.

Like before with Node.js, save the file to a location.
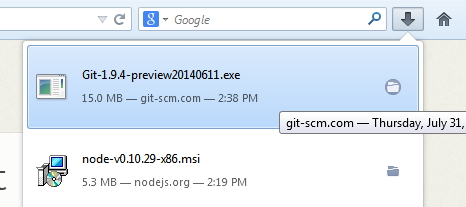
After it has downloaded, just like before, execute the file to start the installer.
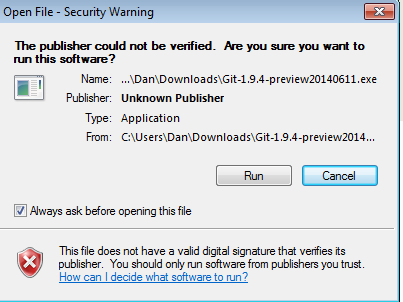
If you are given another security warning, click “Run” again.

Once it starts, the setup application for Git will give you the option to click “Next >”. Do so.
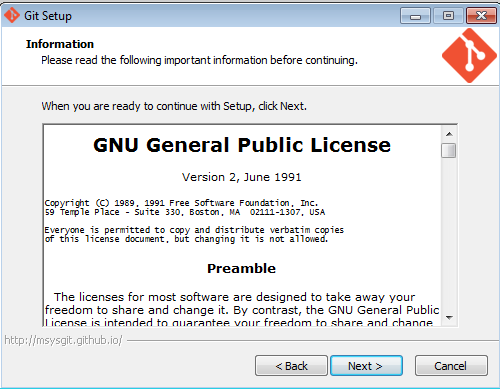
The installer for Git has it own EULA. Take the time to read through this as well.
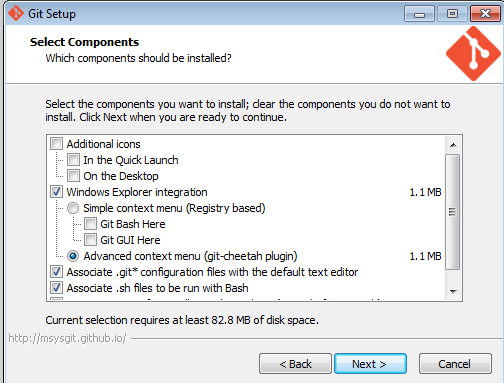
Once given the ability to choose how to install Git in your system, you can customize it to your liking.
If you have no preference, click “Next >” to continue.

Under the “Adjusting your PATH environment” options, you can choose between two possible options for this guide.
Pick either the center, “Use Git from the Window Command Prompt”, or bottom-most, “Use Git and optional Unix tools from the Windows Command Prompt” option.

If you have a PuTTY session in your registry (as I did), you can choose to use that option.
If you did not, or have no preference, select “Use OpenSSH” and click “Next >” to continue.

As the last of the options, the Git installer will prompt you to select how you would like to end text files.
If you have no preference, click “Next >” to finish configuring its options.
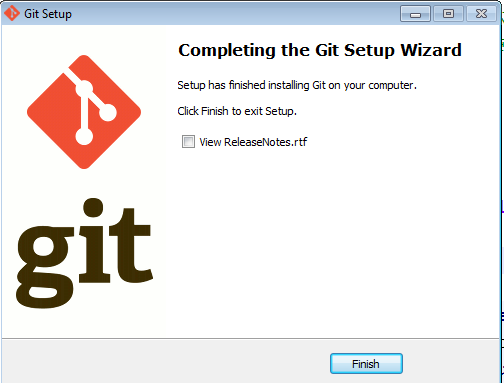
After some period of time, Git will finally be installed.
If you would like to read the release notes, select that box once given the ability. If you would rather not at this time, un-select it before clicking “Finish” to close the installation application.
Now that both Node.js and Git are installed, we will spend some time using Apache Cordova from its command-line interface.
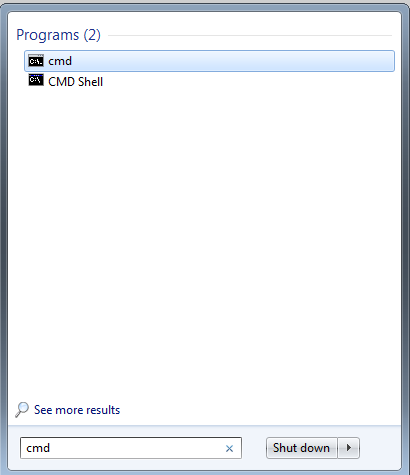
From within Windows, a command-line window can be accessed by typing “cmd” within the application search bar and pressing ENTER.
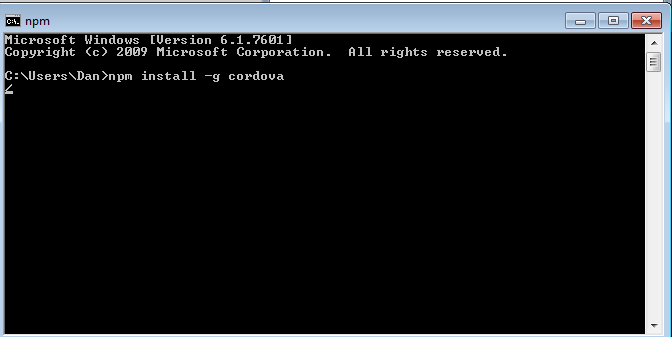
Once the command-line window is open, enter the following “npm install -g cordova”.
Note: This will install ‘cordova’ through the Node Package Manager using the global (-g) flag.

Depending on what other NPM modules are installed on your system, the installation of Cordova could be very quick or take a great deal of time.

After Cordova has been installed, we can create a “Hello World” (traditional first program).
To do that, enter the following: “cordova create hello com.example.hello HelloWorld”.
Note: It will tell Cordova to create a folder (“hello”) containing the project “com.example.hello” (named using the reverse-domain method) and make the main process “HelloWorld”.

Once it has finished creating the project, change the directory to ‘hello’ using the command “cd hello”.

As part of an upcoming step, we will need to install a plugin to Cordova. Before we can do that, however, we need to install another Node module.
This time, enter the following: “npm install -g plugman”

Now that we have a blank Cordova project created, we can begin to populate it by adding a platform to it.
Because the Ouya is an Android-based device, we will use the “cordova platform add android” command from within the “hello” folder.

Once it is finished, we will have nearly all of the tools installed and ready to go.
The last is one plugin, is a “Android TV Plugin for Cordova”. It patches in the necessary Android configurations to tell Ouya that the compiled program is a ‘game’ and not another type of application.

To install it, enter the following:
cordova plugin add https://github.com/hughisaacs2/Cordova-Android-TV-Plugin.git
Now, finally, we have Cordova configured and ready for our Twine file.
Open Twine and, for the sake of this guide, create a new Story.
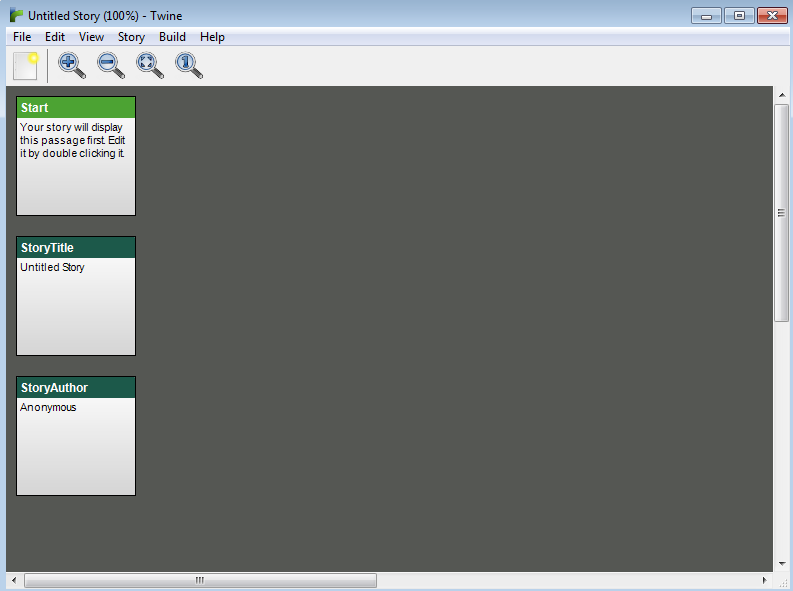
If wanted, save the story as a file for later editing.
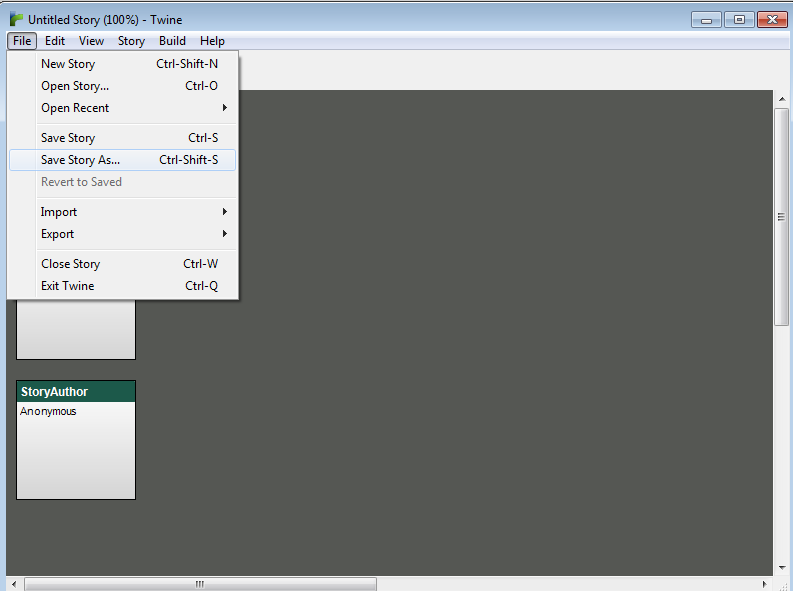
Once ready, click on Build -> “Build Story…”

Given the choice for where to save the file, find the the “hello” folder created by Cordova. Inside of that, enter the “www” folder and select the “index.html” file. We will be overwriting this file with the contents of the Twine story.

Windows will present a prompt telling you that the file already exists. Click “Yes” to replace the Cordova created file with the Twine one.

Now that everything is ready, return the command-line window. Assuming you have already connected your Ouya to your computer via ADB (as I stated at the beginning of this guide), type and run the following command “cordova run”.

This will build the project, compile it into a APK file, install it on the remote system, and tell it to run immediately.

If all processes have run correctly and not reported any errors, you will see the final message “LAUNCH SUCCESS” in the console.
Turning to the Ouya-connected screen, you should now see the Twine file running on the Ouya.
You are now ready to experiment using Twine on the Ouya with Apache Cordova!
Additional Notes:
- As is maybe obvious, you can substitute your own Twine files for the default file used in this guide. All that is needed is that it be placed in the “www” folder and (re-)named “index.html” for Cordova to compile it into a project.
- Each new execution of “cordova run” will re-install the project. While you can manually uninstall each project using the Ouya’s menu, you do not have to with each new change.
- You can navigate the links on the page using the left joystick. Pressing “O” will select that link; pressing “A” is the same as pressing BACKSPACE, it will go back one link within the history of the page.
- For a more permanent project, consider creating a new project with a different name than “HelloWorld” and changing the icons. For the latter, consult the documentation.
