Update: As of August 7, 2014, this specific method no longer works. Once a new way is found, or Google changes its code again, I’ll update the guide to reflect that.
Since I’ve started doing various tutorials this year on using Twine, the most common question I get is how to host files. More than the details of doing command loops, creating macros, or even changing styles using CSS, most people just want to know how to share what they have created with more people to get feedback on their work.
On the surface, it seems like a simple question too. However, because it often involves uploading files to a remote server, it becomes more difficult from a technical and economic perspective. Most websites charge money to share files and, even when purchased, it might then require access through FTP or even SSH just to post a HTML file created in Twine.
That’s obviously way too many steps for most people and instead of doing all that, they turn to services like Dropbox or Box.com. These offer the ability to publicly share files for free and, for many, it is enough. However, there does exist another solution too. For those who already have a Google account from Gmail or YouTube, files can be hosted from within Google Drive.
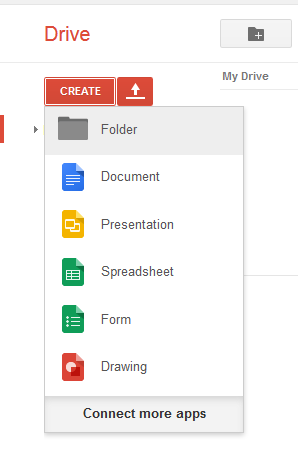
1) From Google Drive, create a new folder.
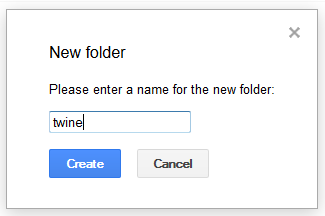
2) Name the folder
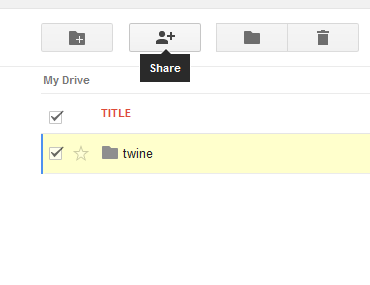
3) Open the Share options
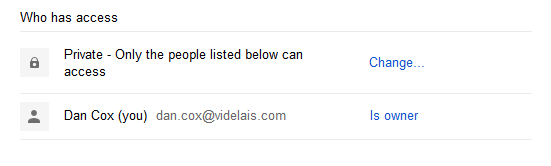
 4) Under Who has access, click on “Change…”
5) Under Visibility options, change it to “Public on the web” and save.

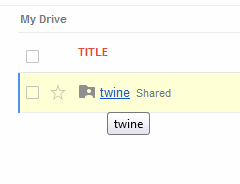
6) Open the folder created in Step 2
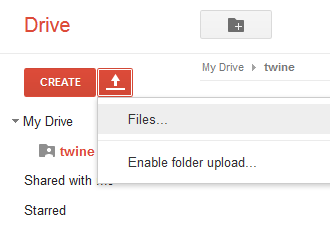
7) Click on the upload button and select “Files…”
8) Select the file.

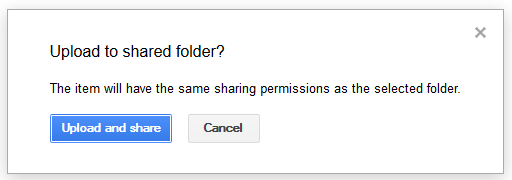
9) Confirm the sharing.
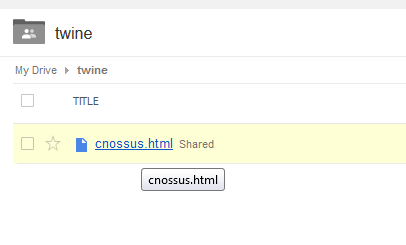
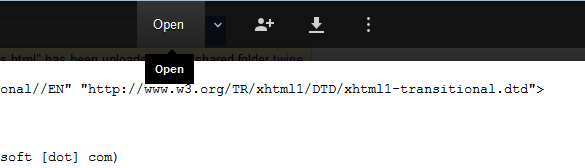
10) Click to open the file.
 11) Click on “Open” to edit the file.
12) Click on the “Preview” button.

13) Copy the public link.

