Previously:
(I use Paint.Net to make these examples, but two open source programs, GIMP and Pinta, work just as well.)
(I also turn on the pixel grid. In Paint.Net and Pinta, it’s under View->Pixel Grid.)
While making ground, wall (brick), or even door tiles so far, we have created flat images. That is, the viewing perspective of the player to the image has not been particularly important. It has been as if the player is looking at a map from a top-down viewing angle.
However, when moving towards drawing free-standing structures such as buildings and even trees, we need to start to consider where the player is in relation to the objects. For example, is everything top-down or is the player viewing things at an angle? And how much can the player see because of this?
Classically, and the trend in everything from The Legend of Zelda to Pokemon, free standing structures are front facing. In the case of a building, the player can see the front and usually the roof. From the outside, the walls are often hidden and, depending on the lighting, the shadow of the building is cast on the ground tiles on one side or the other.
And unlike the other things presented so far, a building especially is made up not of one or even three tiles, but often at least six or more. It’s a composite of its walls, doors, windows, and even roof tiles.
Because of this though, it can also be broken down into its tile parts and then reassembled.
Starting with making windows (for their simplicity), we again create a new 16×16 image. And, since most constructed buildings are grey or white, fill the image with a light grey (#D8D8D8).

Then, to create a double-window tile, draw two black squares. Starting at the fifth row and second column, make a 4 x 5 rectangle. And then at fifth row and tenth column make another 4 x 5 rectangle.

And now, to give an emphasis or outline to the windows, draw a darker grey (#707070) along each side of each pane.
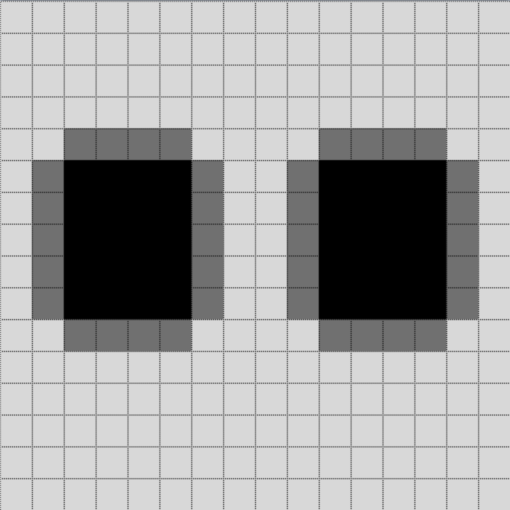
Awesome! We now have a double-window tile ready to use.
But what if we wanted more options too? Some buildings may have two smaller windows, but others could one large window made up of multiple panes (sections of glass). What about those?
Well, going back to the filled grey tile, we can create one larger black rectangle 10 x 10 starting at the third row and column and then add the same outer outline of darker grey again.
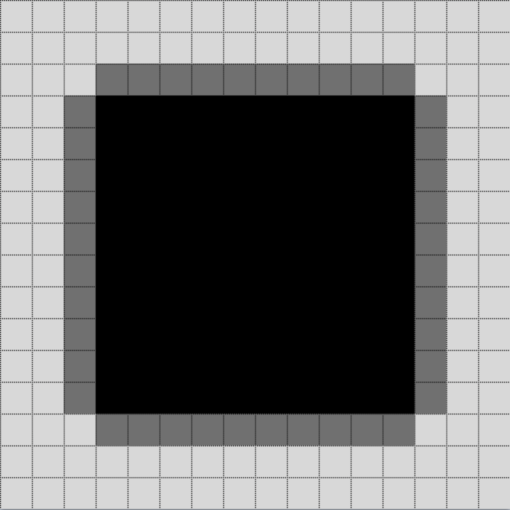
From this, we can sub-divide the window into four panes by drawing lines inside the black square on the seventh and eighth columns and rows.
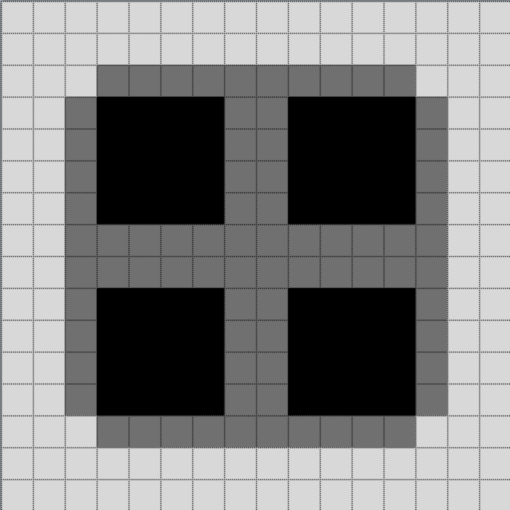
As a final touch, we extend the bottom outline of darker grey two pixels on each side to create a window ledge.

Now that we have two different window options, it’s time to start thinking about the front layout of buildings. Usually, the door is in the middle of the front between two window tiles. So, for now, let’s go with that.
Using the curved-top door from a previous post, we can combine the four-pane example with the door to create the front of a building. (Be sure to match the background color of the door tile with the building’s color.)
To do that, create a new 48 x 16 image (16 x 3 = 48). Now, copy and paste each tile into the new image, aligning their sides so that they do not overlap with each other.

Well, now we have the window tiles (combined with the door tiles from a previous post) to make different building fronts. By varying the length, placement of the door, and even types of windows, we can create many seemingly different buildings from a small set of tiles.
However, we still need a roof.
For that, we need to think about tessellating patterns.
Create a new 16 x 16 image. Select a 6 x 6 rectangle from top-left corner. Fill it with black.

Within this square, we are going to create a pattern that will be repeated within the tile.
Starting from the first row and first column, draw an ‘L’ shape four pixels down and two across in white. Then, in the darker grey (#707070) used earlier as the outline color, draw a line from the forth row and first column down three pixels.
The shape should look as if a ‘U’ is not quite complete in its bottom-right corner.

Now, copying and pasting this pattern, we will fill the tile. Allowing the pattern to overlap on its sides, there should be only one black row or column between one instance of the pattern and the next.
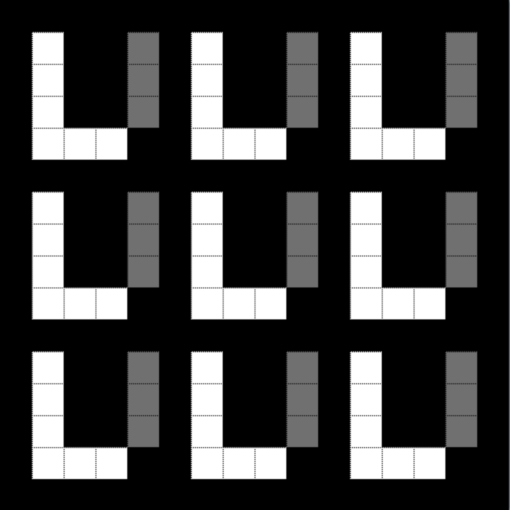
Shingles!
To see what the new roof looks like, create a new 48 x 32 image (16 x 3 = 48 and 16 x 2 = 32). Copy the previously created front of the windows and door and paste it as the bottom row. Then, copy and paste the newly completed tile three times to fill the top row of the image.
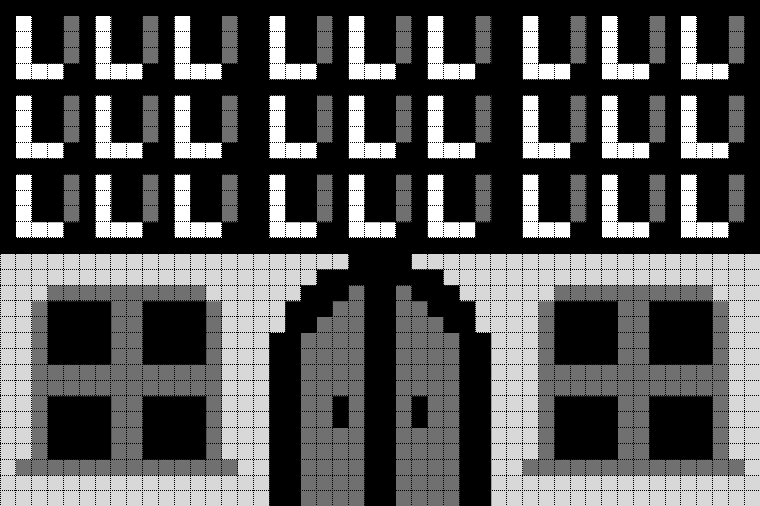
Of course, we can make the singles bigger. And change the pattern too. (And we might even consider different colors to make buildings in a variety of colors as well as shapes.)
It’s all a matter of finding something you like and that fits your project’s needs.
