Previously:
- Drawing retro-style floor tiles
- Drawing retro-style building tiles
- Drawing retro-style ground tiles
- Drawing retro-style brick tiles
- Drawing retro-style door tile
(I use Paint.Net to make these examples, but two open source programs, GIMP and Pinta, work just as well.)
(I also turn on the pixel grid. In Paint.Net and Pinta, it’s under View->Pixel Grid.)
Personally, I find drawing anything organic to be the most difficult. I’ve gotten decent at drawing science-y tiles like metal floors and even computer consoles, but actually drawing things that grow always takes me extra time to make sure it looks the way I want. I have to play with the colors and often re-draw parts to my liking.
However, the one exception to this is plants.
And the reason for that was something that was right in front of my face when I was young but I was completely blind to at the time. No, it wasn’t until I started studying the art of Super Mario Bros that I noticed the (now) completely obvious fact that the bushes in the background and the clouds in the sky are the same sprites. The only difference is in color. “The plants are the clouds!”
The trick, then, is to realize that if you can draw a cloud, you can also draw a tree or bush too. It’s all a matter of switching colors.
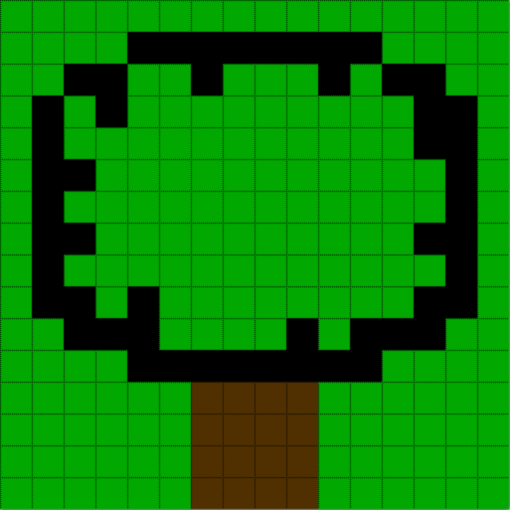
Starting from a new 16 x 16 image, we can fill it with green (#00A800).

Next, in black, we draw the outline of a cloud by drawing straight lines on the first and fourteenth columns seven pixels long starting from the third row. Then, another two lines along the first and eleventh rows eight pixels long. Finally, connecting them with four two-pixel-long lines inside the other four lines.

Now, we are going to draw the trunk of the tree in a dark brown (#503000) starting from the sixth row and twelfth column. It will be a 4 x 4 rectangle.

Admittedly, this looks like a pretty basic, almost childish looking tree.
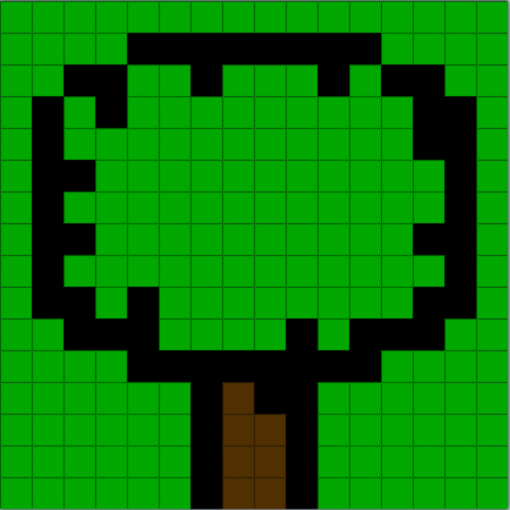
So, in order to make it more professional, we are going to add some “rough edges” to the tree by adding black pixels to its outline in random places. This way, the tree will look as if its branches grew into a more organic looking pattern.
And then we can add some shadow to the trunk as well by filling its brown sides with black.
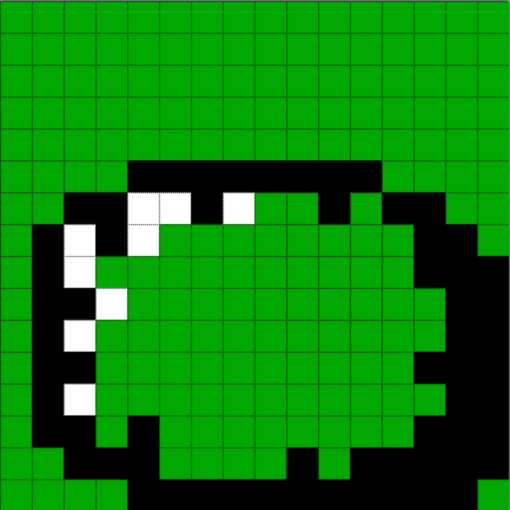
By adding white pixels to the upper-left corner of the tree’s inside oval, we can create the visual effect of light bouncing off the tree.

Since the light source for the tree is now somewhere off to the upper-left (to create the reflection off the leaves of the tree), we now need to add more shadow to the truck bottom-right of the tree.
To do that, we simply add extra black pixels to the trunk (two columns) and along the bottom-right of the tree itself.
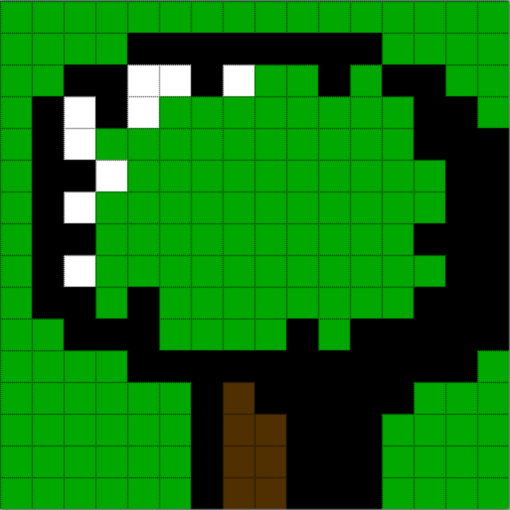
Our first tree is done.
But what about other types of trees? What we have looks like it might be a dark wood tree. Can we make a lighter shade?
Sure. We can even use other shades of green for the tree too.

In fact, by experimenting with other colors, we might make something like a cherry blossom.

But what about bushes? This post started with comparing trees and bushes to clouds. How to bushes fit in then?
Well, now that we have a tree as an example, bushes are really easy. To transform a tree into a bush, we merely remove the trunk.
By selecting the upper part of the tree (everything but the truck), we can move it over top of the truck, thus creating a small bush.
And, by stretching the selection to fill the image, we can create a large bush.
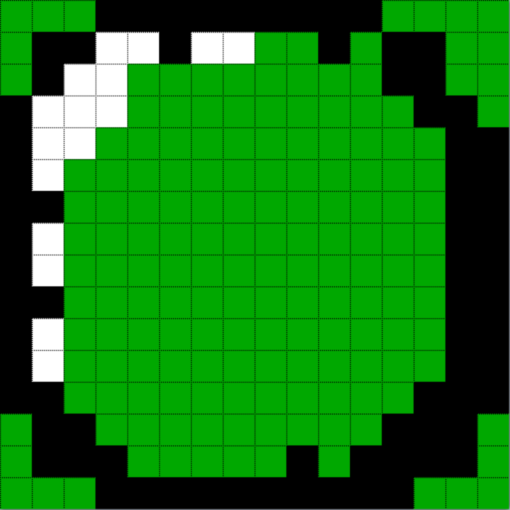
Of course, this new, larger bush is rather boring. By drawing over the white pixels and then adding a pattern inside the bush, we can change that.

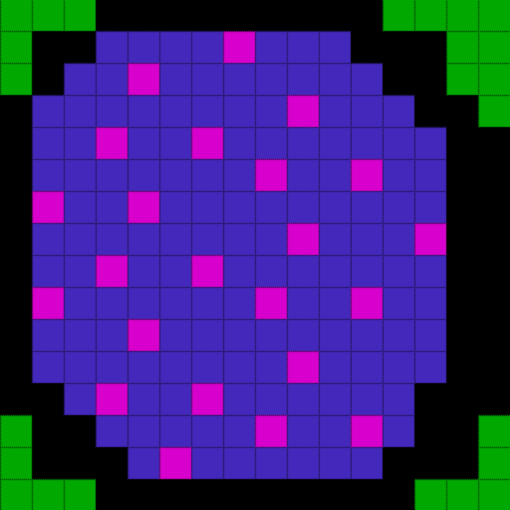
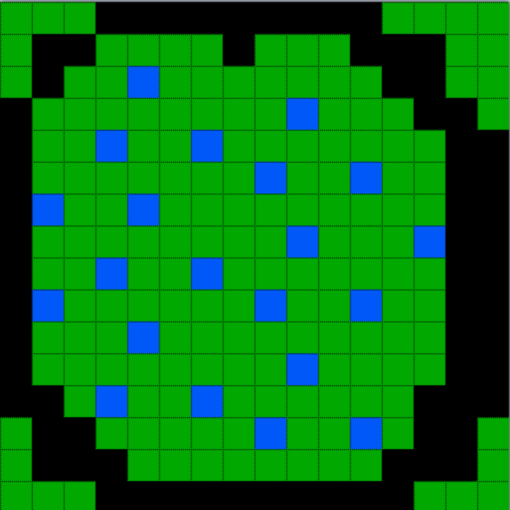
And then, by changing the colors inside the bush, we can create different types. Like, maybe a blue berry bush?
Or even something much more mysterious looking.