Ink for the Web
Learning Ink
- Part 1: Installing Inky and Common Terms
- Part 2: Choices and Knots
- Part 3: Sticky and Advanced Choices
- Part 4: Includes and Stitches
- Part 5: Alternatives, Sequences, Cycles, and Shuffles
- Part 6: Gather Points and Labelled Options
- Part 7: Global, Temporary, and Constant Variables
- Part 8: Knot Parameters and Functions
- Part 9: Tunnels and Threads
- Part 10: Lists
Ink is a scripting language for creating interactive fiction like choose-you-own-adventures and other vast, branching stories.
Using the Inky editor and Ink’s tagging system, projects can be created for play in a web browser through adding images, using meta instructions, and customizing layout and styles using CSS.
Using Images
Starting with release version 0.10 and onwards, the Inky editor has the ability to build versions of Ink for the web with images using a new tag: “# IMAGE:”.
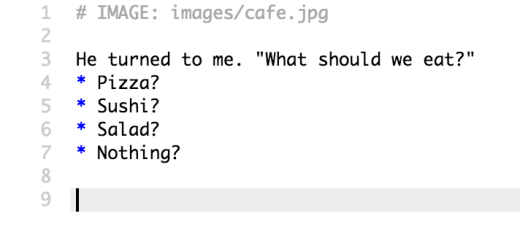
When used in Inky, tags are created using the hash symbol, #, and then additional instructions. The image tag is used with the capitalized word IMAGE and a colon. Images are then referenced either in the current directory or with a slash and its location in relation to the index.html file.
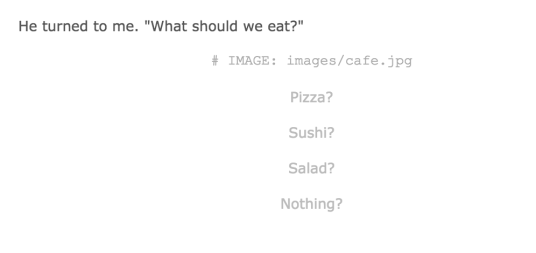
When used in the Inky editor, tags will appear as-is within the preview area. Images will not be loaded nor shown. To see the images, use either File –> Export to Web (for first time exporting) or File –> “Export story.js only…” (for additional exporting).
Note: If a previous version of Ink was used to build the project, the entire project will need to be built (export to web) with the new version.

Using Multiple Images
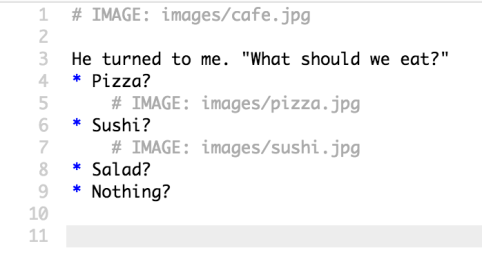
Multiple images can be used throughout a project in Ink as well. Using the IMAGE tag within choices, for example, will show the image upon making that choice.