Ink for the Web
Learning Ink
- Part 1: Installing Inky and Common Terms
- Part 2: Choices and Knots
- Part 3: Sticky and Advanced Choices
- Part 4: Includes and Stitches
- Part 5: Alternatives, Sequences, Cycles, and Shuffles
- Part 6: Gather Points and Labelled Options
- Part 7: Global, Temporary, and Constant Variables
- Part 8: Knot Parameters and Functions
- Part 9: Tunnels and Threads
- Part 10: Lists
Ink is a scripting language for creating interactive fiction like choose-you-own-adventures and other vast, branching stories.
Using the Inky editor and Ink’s tagging system, projects can be created for play in a web browser through adding images, using meta instructions, and customizing layout and styles using CSS.
Adding CLASS
Like with working with the IMAGE tag, Ink/Inky also supports a tag for defining new CSS rules: CLASS.

When used at the end of a line, the Inky web-exported version will apply any CSS classes matching that name.
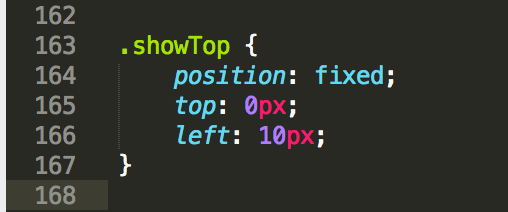
To add new CSS rules, edit the style.css file generated by the initial web-exporting process.
Adding or changing rules in this file will be reflected when the index.html file is refreshed in the web browser.
Note: When adding a new CLASS tag in a project, it will need to be exported again before those changes will appear. Be sure to use File –> “Export story.js only…” and replace the story before refreshing the index.html file!

Changing CSS

The default CSS can also be updated through changing units or writing new rules in the style.css file.

Changing the rules for the <p> tag, for example, can make the text bigger.
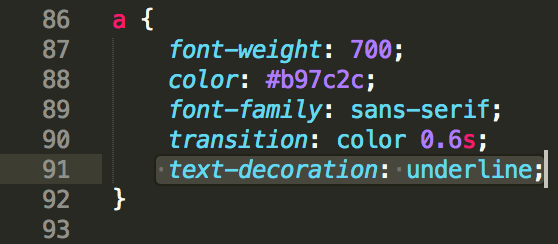
The same with adding “underline” to the text-decoration rule for hyperlinks. This can better help with showing what text is a link or not.
Any additional rules or changes can be made to the style.css file. However, two things need to be remembered:
- Making changes in Inky means doing a File –> “Export story.js only…” before refreshing the index.html file to see those changes.
- Tags work on sections of text. When used after a selection of text on the same line, it will wrap that text in those styles. Otherwise, tags will work on the next section of text.
